Workforce User Self Enroll, Manage, Recover Devices


See how users can self-enroll in Beyond Identity, and add, remove, and recover their credentials and devices themselves, without the help of IT. There are two methods for self-enrollment. The first is through email, the second is through the single sign-on.
Email enrollment
Let's go through email enrollment first. Users can receive an email from Beyond Identity. It can be customized with your logo and other information. Users are brought through two quick steps.
First, download the Beyond Identity Authenticator, and two, register their credentials on their device. The first step is to download the Authenticator. When users click "View Authenticator Options," Beyond Identity recognizes the type of platform they're on and since they're on a Mac, it recommends downloading the Mac Authenticator.
The Authenticator can also be downloaded on Windows computers and on Apple and Android phones and tablets. Users can also find the link to download the Authenticator in the App Store and on Beyond Identity's website. Admins can also choose to pre-distribute the Authenticator onto users devices using their MDM.
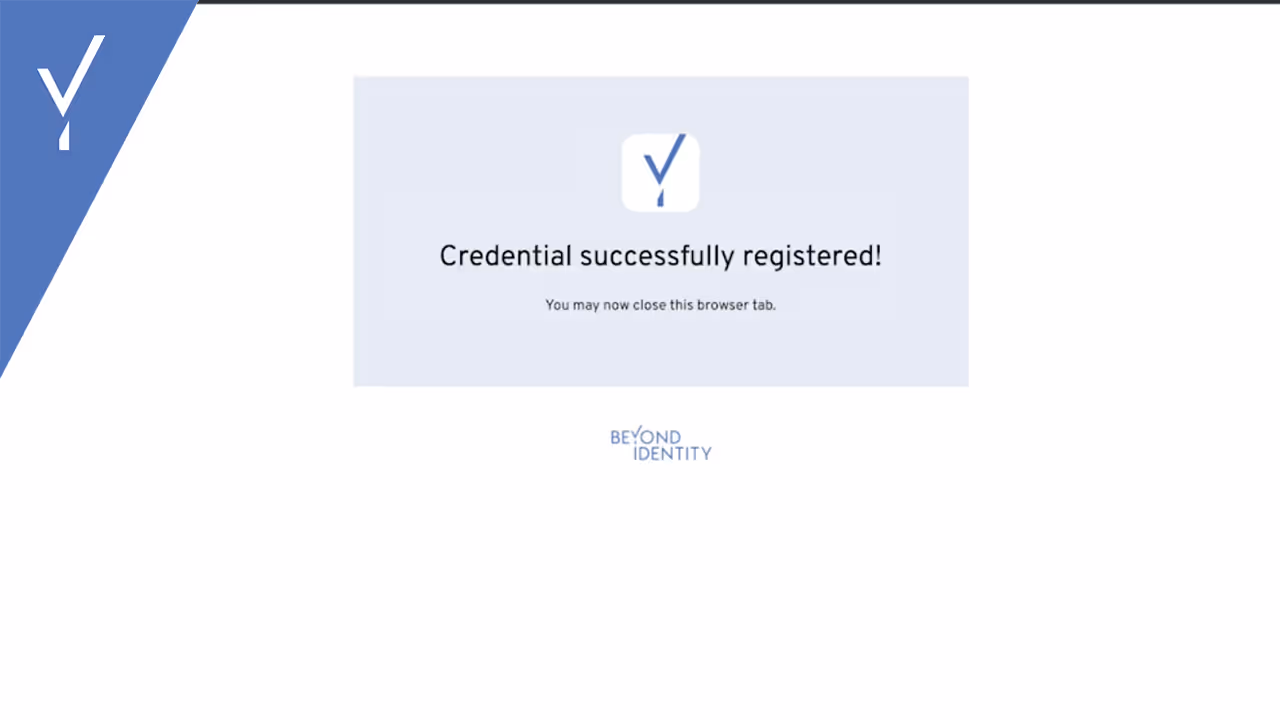
So let's assume this user doesn't have the Authenticator yet so they’ll have to download it. Once downloaded, users will notice their Authenticator is empty. Now it's time to go back to the email and go to step two to register our credentials on this device. The user would need to click to register a new credential. This creates and embeds the user's credentials locally on their device, and it's successful.
They're all set up! That's it for email enrollment. In less than 30 seconds, the user is enrolled and ready to access company resources without a password ever again.
Enrollment through a single-sign on
Now let's go through the second enrollment option through Okta's user portal. Users first authenticate into Okta's single sign-on. This is before users are enrolled in Beyond Identity so they will use a password for the very last time to log into Okta.
They'll see Beyond Identity pop up on their list of available apps in Okta's user portal. Once they click on Beyond Identity users are directed to download the Beyond Identity Authenticator and register their credentials on their device. They've already downloaded the Authenticator in the example so they’ll register the credentials on the device.
So you can see the credential has been added and now they're ready to go passwordless. After users enroll, they can set up Authenticators on their other devices so that they don't have to pick up a second device to log in and there's less of a chance of getting locked out.
Setting up Beyond Identity Authenticator on a phone
In this scenario they enrolled first on a computer and now they're going to set up Beyond Identity on a phone. So the first step is to download the Authenticator on their phone. The easiest way to find the Authenticator is through the App Store.
So they're going to install the Authenticator on a phone. They're going to open the Authenticator, choose to add a credential, and add an existing credential from another device. They'll choose the camera option, then users will go back to the computer's Authenticator and click set up other devices.
Beyond Identity will ask for a biometric and once it reads the fingerprint, a QR code will display on the computer. Then the user will scan the QR code using their phone and now they're all set up. Their credentials are now on their phone too. This means they can use Beyond Identity on their phone for passwordless logins to all of their web-based and native mobile applications.
Notice how users can set up other devices without a password. There's no password hiding in the background or used as a backup and when users lose a device. They can remove that device as an Authenticator themselves without having to contact IT. They can simply log in to their Beyond Identity Console, which can be accessed through the single sign-on and delete a device. And that's it for self-enrollment adding removing and recovering devices.
See how users can self-enroll in Beyond Identity, and add, remove, and recover their credentials and devices themselves, without the help of IT. There are two methods for self-enrollment. The first is through email, the second is through the single sign-on.
Email enrollment
Let's go through email enrollment first. Users can receive an email from Beyond Identity. It can be customized with your logo and other information. Users are brought through two quick steps.
First, download the Beyond Identity Authenticator, and two, register their credentials on their device. The first step is to download the Authenticator. When users click "View Authenticator Options," Beyond Identity recognizes the type of platform they're on and since they're on a Mac, it recommends downloading the Mac Authenticator.
The Authenticator can also be downloaded on Windows computers and on Apple and Android phones and tablets. Users can also find the link to download the Authenticator in the App Store and on Beyond Identity's website. Admins can also choose to pre-distribute the Authenticator onto users devices using their MDM.
So let's assume this user doesn't have the Authenticator yet so they’ll have to download it. Once downloaded, users will notice their Authenticator is empty. Now it's time to go back to the email and go to step two to register our credentials on this device. The user would need to click to register a new credential. This creates and embeds the user's credentials locally on their device, and it's successful.
They're all set up! That's it for email enrollment. In less than 30 seconds, the user is enrolled and ready to access company resources without a password ever again.
Enrollment through a single-sign on
Now let's go through the second enrollment option through Okta's user portal. Users first authenticate into Okta's single sign-on. This is before users are enrolled in Beyond Identity so they will use a password for the very last time to log into Okta.
They'll see Beyond Identity pop up on their list of available apps in Okta's user portal. Once they click on Beyond Identity users are directed to download the Beyond Identity Authenticator and register their credentials on their device. They've already downloaded the Authenticator in the example so they’ll register the credentials on the device.
So you can see the credential has been added and now they're ready to go passwordless. After users enroll, they can set up Authenticators on their other devices so that they don't have to pick up a second device to log in and there's less of a chance of getting locked out.
Setting up Beyond Identity Authenticator on a phone
In this scenario they enrolled first on a computer and now they're going to set up Beyond Identity on a phone. So the first step is to download the Authenticator on their phone. The easiest way to find the Authenticator is through the App Store.
So they're going to install the Authenticator on a phone. They're going to open the Authenticator, choose to add a credential, and add an existing credential from another device. They'll choose the camera option, then users will go back to the computer's Authenticator and click set up other devices.
Beyond Identity will ask for a biometric and once it reads the fingerprint, a QR code will display on the computer. Then the user will scan the QR code using their phone and now they're all set up. Their credentials are now on their phone too. This means they can use Beyond Identity on their phone for passwordless logins to all of their web-based and native mobile applications.
Notice how users can set up other devices without a password. There's no password hiding in the background or used as a backup and when users lose a device. They can remove that device as an Authenticator themselves without having to contact IT. They can simply log in to their Beyond Identity Console, which can be accessed through the single sign-on and delete a device. And that's it for self-enrollment adding removing and recovering devices.
Trending Resources
.png)
Your First 5 Minutes with Ceros: See What You've Been Missing
February 24, 2026
The Attacker Gave Claude Their API Key: Why AI Agents Need Hardware-Bound Identity
February 2, 2026
Beyond Identity Opens Early Access for the AI Security Suite
January 22, 2026
Unlock High-Fidelity Security with the New Beyond Identity App for Splunk
January 16, 2026
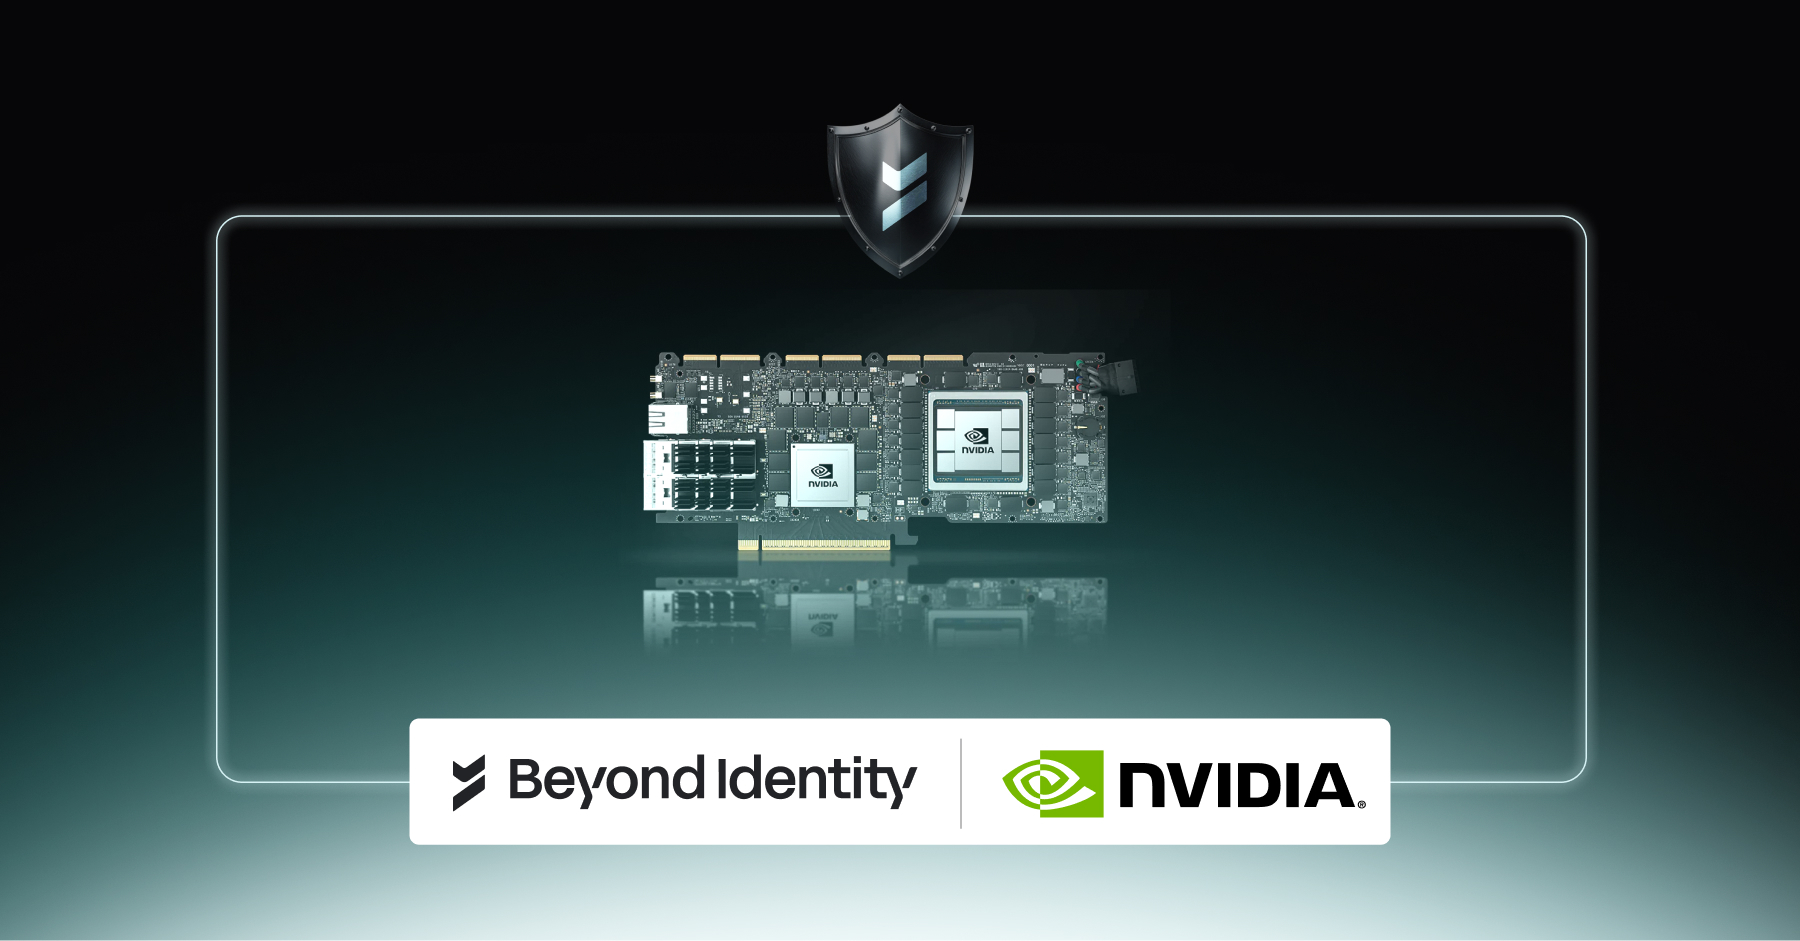
Beyond Identity Joins NVIDIA Inception Program to Advance Hardware-Enforced Security for the AI Era
January 5, 2026

Chips and SLSA: Why TPMs Matter for Code Commits
December 19, 2025

Why Is Code Provenance Non-Negotiable in the Age of AI?
December 17, 2025
.avif)
How Beyond Identity & Nametag Stop Identity Fraud at Onboarding & Recovery
November 19, 2025
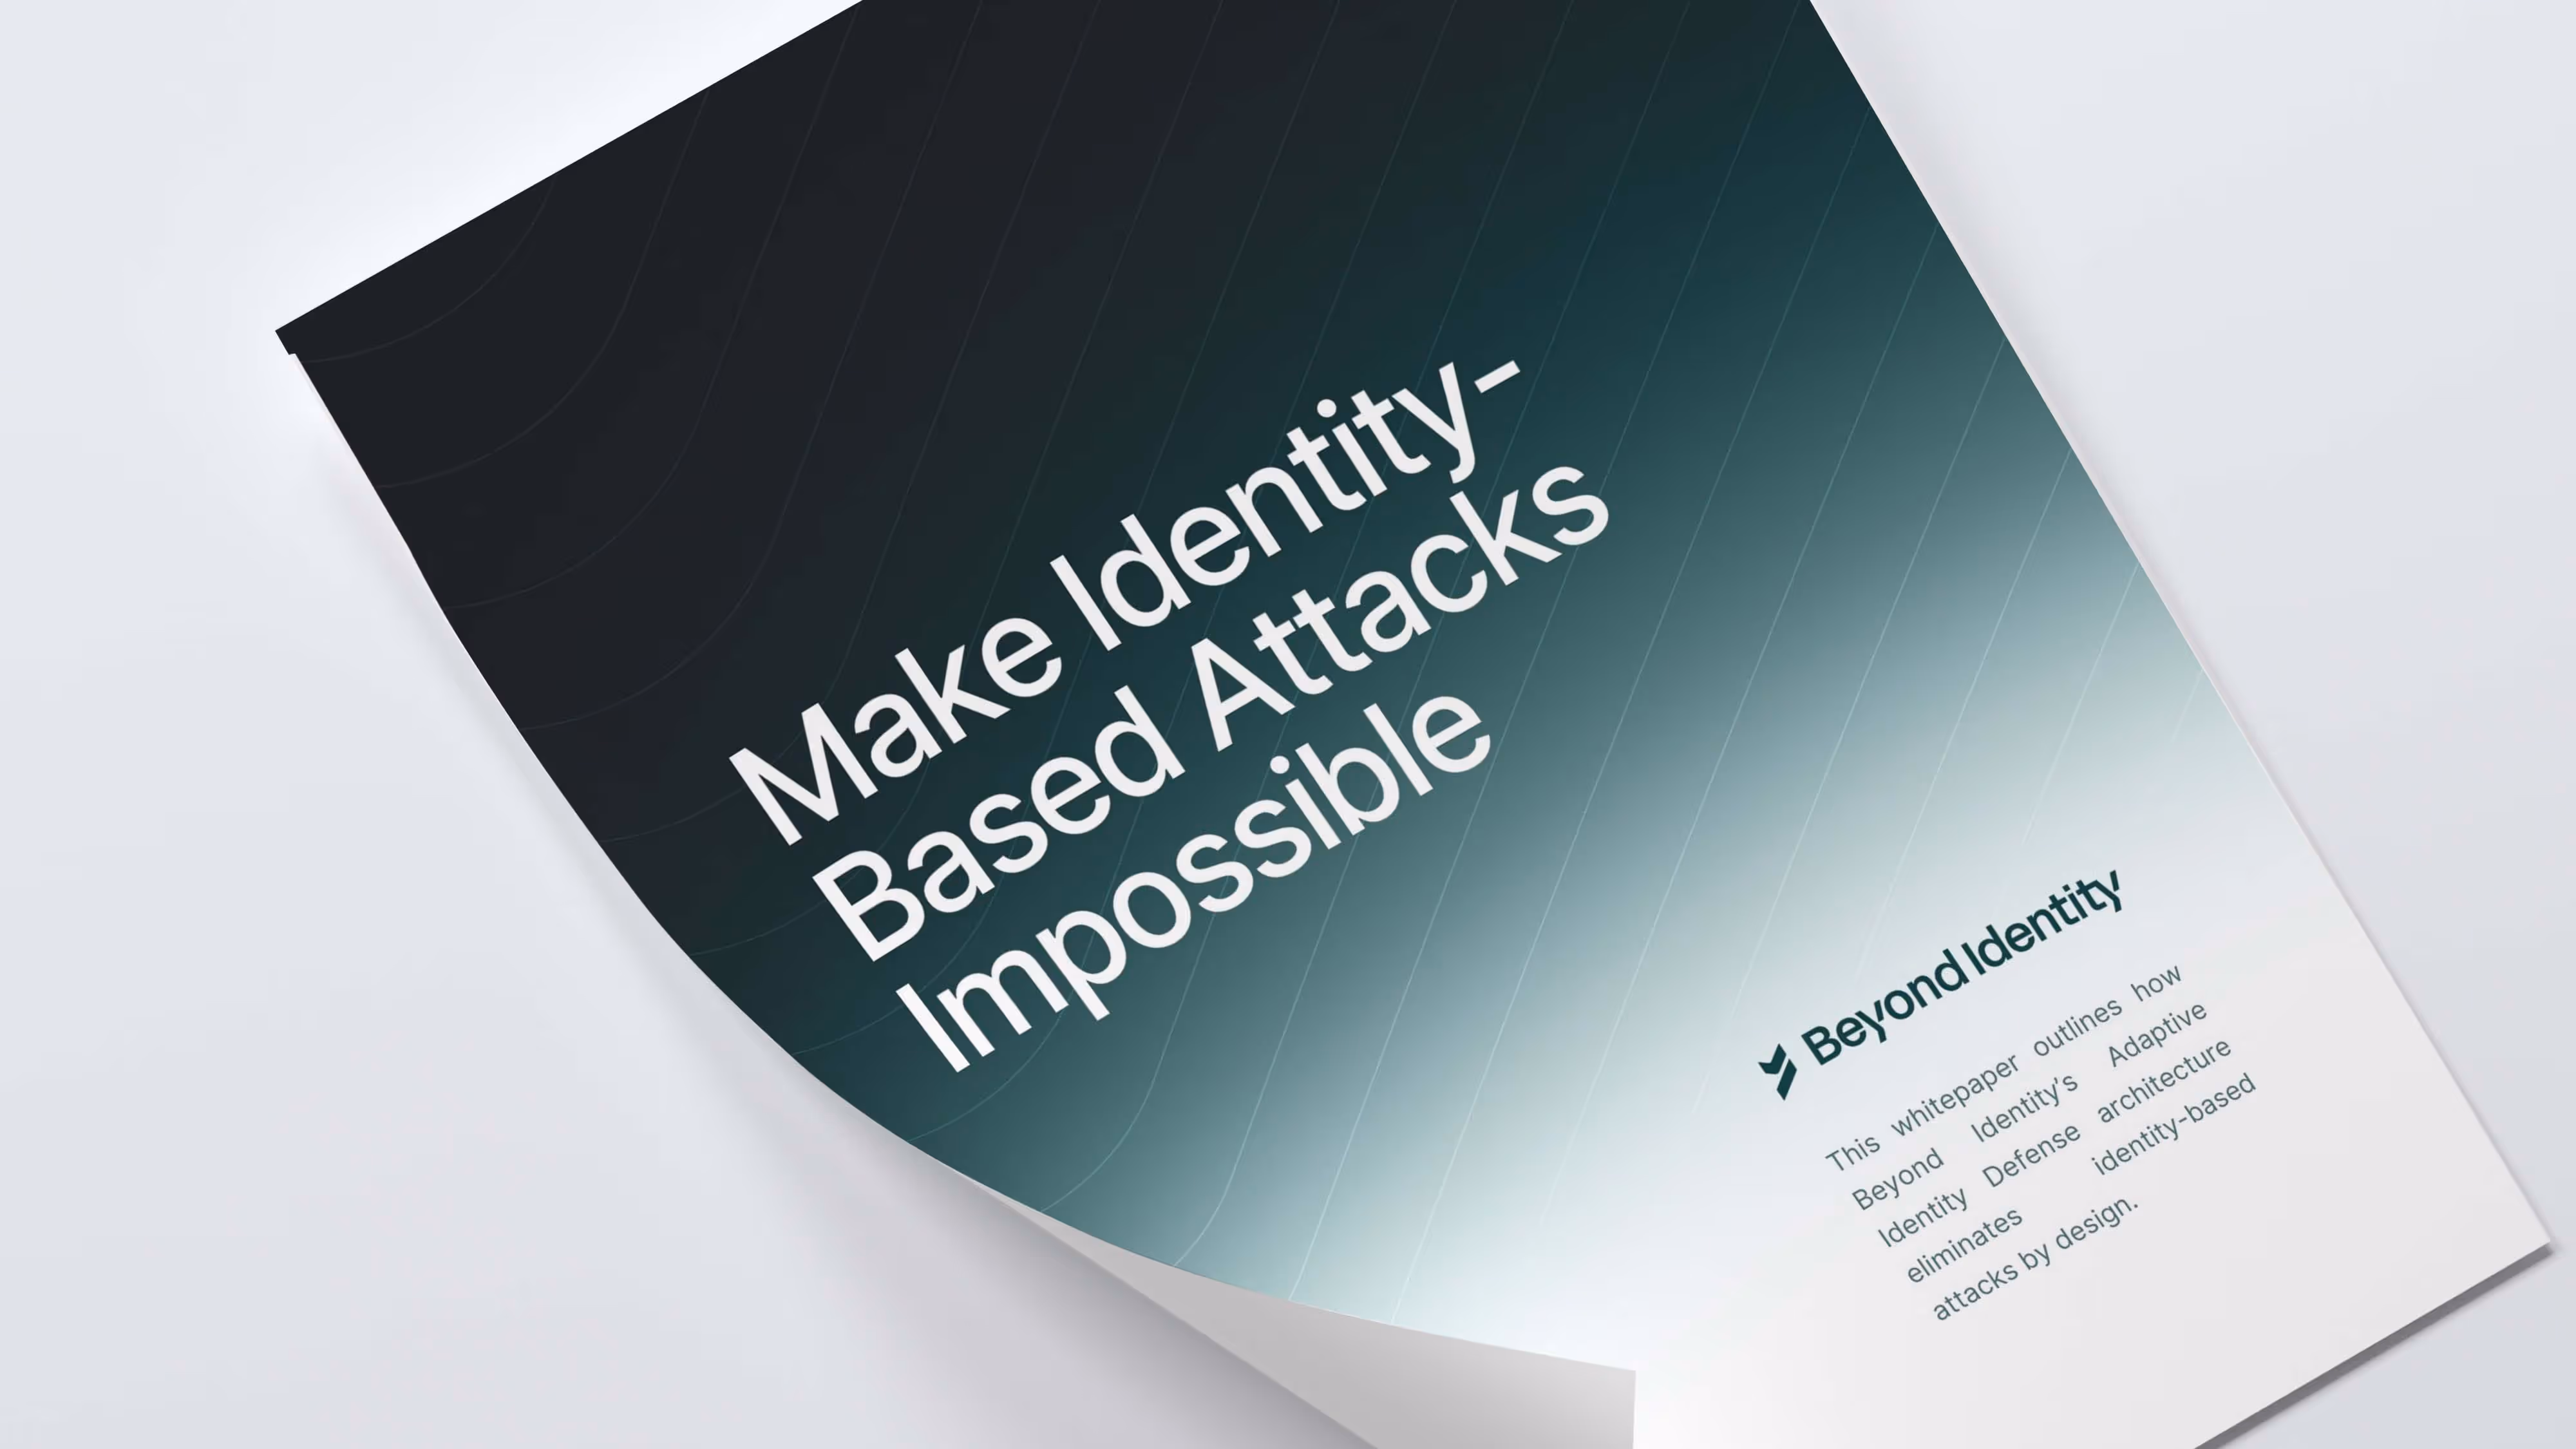
Make Identity-Based Attacks Impossible
August 11, 2025
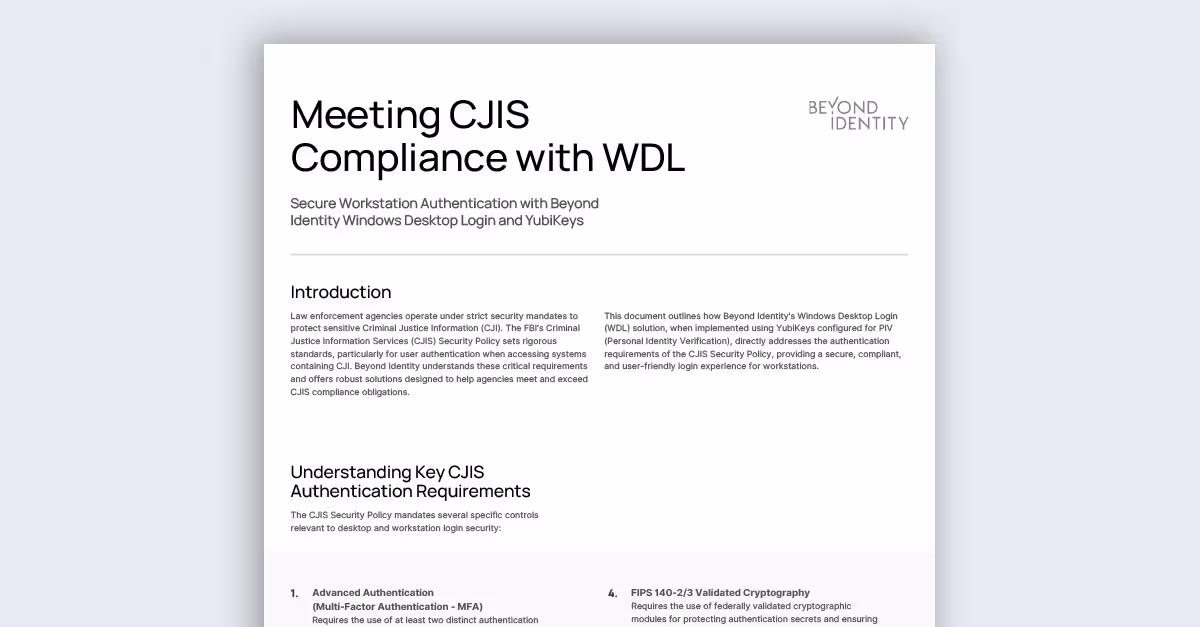
Meeting CJIS Compliance with WDL
May 27, 2025
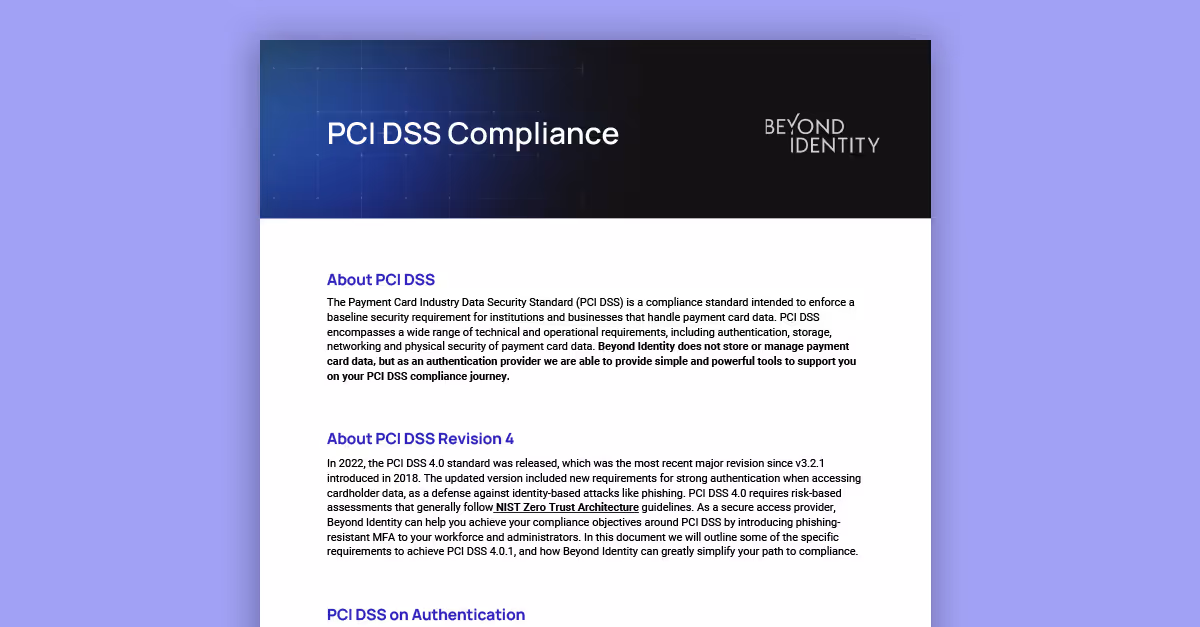
PCI DSS Compliance with Beyond Identity
March 6, 2025
.avif)
Online Job Board Safety: How and Why To Avoid a Scam
March 7, 2024
ChatGPT's Dark Side: Cyber Experts Warn AI Will Aid Cyberattacks in 2023
February 29, 2024
Improving User Access and Identity Management to Address Modern Enterprise Risk
February 20, 2024

Okta Cyber Trust Report
January 5, 2024
Securing Remote Work: Insights into Cyber Threats and Solutions
October 30, 2023

Networking Dinner with MightyID and Tevora
December 9, 2025
Alphinia CISO Mastermind Dinner
December 1, 2025

Myriad360 Client Appreciation Celebration
November 20, 2025
GuidePoint Security Movie Premeire of Wicked
November 19, 2025
.avif)
How AI Is Accelerating Threats: The Inside Scoop on Emerging Phishing GPTs
November 18, 2025

GuidePoint Security 3rd Annual Houston Golf Outing
November 13, 2025
GuidePoint Security's Pinehurst Golf Outing
November 12, 2025
GuidePoint Security Public Sector Vendor Fair
November 5, 2025
