Beyond Identity Admin Console Overview


In this video, we’ll explore administration in the Beyond Identity Console.
Beyond Identity is a SaaS, cloud-native platform. Admins can access the Beyond Identity Console through a web browser and through their single sign on.
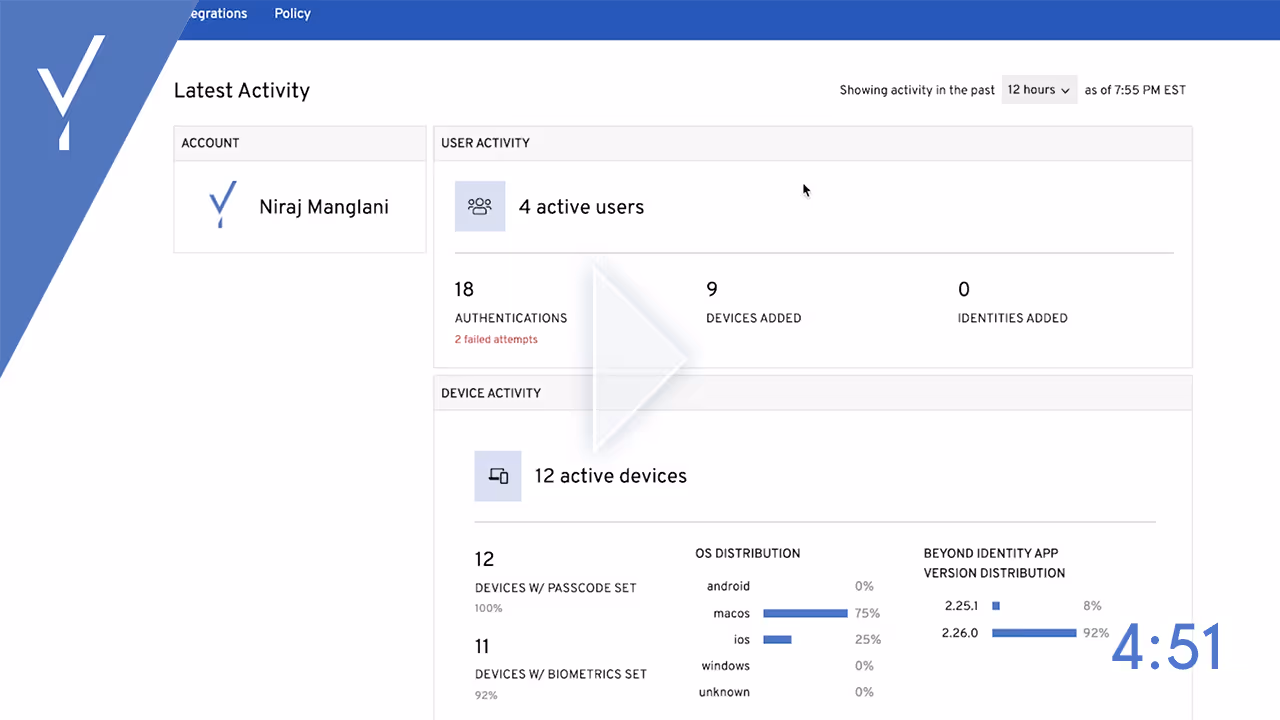
Admins will type their organization ID, and there’s no password to login. It requires the Beyond Identity Authenticator to login, meaning, only devices that are registered with admins can access the admin console. So once admins are logged in, they’ll see in the overview dashboard in the top right corner. They can toggle to a different time frame, from one hour to 30 days, to see how activity has changed.
They can see the number of active users, the number authentications, and devices added. Within device activity, they can view the number of devices that have a passcode set, a biometric set, and the distribution across operating systems.
The directory
On the top navigation, there’s four other tabs. Let’s take a look at the next tab, the directory. This is the Beyond identity directory. Admins can sync users to this directory using SCIM, Okta event hooks, or by adding individual users in the top right corner.
Let’s take a look at an individual user. Admins can see the devices tied to each user, delete specific devices, deactivate or delete users, and invite users to self-enroll in Beyond Identity. They can also add user groups manually or sync through SCIM.
Events
Let’s take a look at the events tab. The events tab shows an audit trail of all transactions that have occurred on the platform. Admins can see which users have enrolled, authenticated, added a device, at what time, and on what platform. They can also export this event log to CSV to utilize in your SIEM and GRC tools.
Let’s take a look at the most recent authentication event. Admins can see:
- The user
- The day and time it occurred
- If it was a successful authentication
- The policy it matches
- The IP address
- The OS version
- The type of device they logged in from
- If there’s a password enabled
- If it’s Biometric enabled
- If it’s secure enclave enabled
- If it’s firewall enabled
- If it’s gatekeeper enabled
- And other info
And the reason why admins are able to get this level of detail for every authentication event is because the authenticator is on every device requesting access, including desktop computers.
Integrations
Let’s move on to the integrations tab. This is where admins can set up the integration with their single sign on. They can also install, enable, and disable API extensions such as Okta event hooks for provisioning or Okta Registration attributes.
Policies
Let’s check out policies, which is the highlight of the Beyond Identity Console. This is where admins set up risk policies. Admins can determine if a user and a device meets their security requirements and whether they should be allowed to access company resources, or they’re asked for a step up (or additional verification), or authentication is denied.
This is how admins set up risk policies. Rules execute in consecutive order, from top to bottom, and you can drag and reorder rules. Similar to the device data that we saw in the events log, there's a variety of granular risk signals that admins can use to build policies.
Some organizations require biometrics or PINs to be enabled—and some require devices to have certain software MDM or EDR downloaded and running on the device—before the user gets access to a resource.
There’s also the option to ask users for a step-up verification prior to accessing a high-risk resource. One example of this is to ask the user for an additional OS verification like a biometric.
Admins can also determine which types of devices are allowed to add the Beyond Identity Authenticator. These policies are completely customizable to meet your own risk model.
All the way on the top right of the navigation, there’s a profile icon which will lead a user to their account settings, where they can see their tenant ID and their profile information, as well as the button to sign out of the Beyond Identity Console.
[/html]
In this video, we’ll explore administration in the Beyond Identity Console.
Beyond Identity is a SaaS, cloud-native platform. Admins can access the Beyond Identity Console through a web browser and through their single sign on.
Admins will type their organization ID, and there’s no password to login. It requires the Beyond Identity Authenticator to login, meaning, only devices that are registered with admins can access the admin console. So once admins are logged in, they’ll see in the overview dashboard in the top right corner. They can toggle to a different time frame, from one hour to 30 days, to see how activity has changed.
They can see the number of active users, the number authentications, and devices added. Within device activity, they can view the number of devices that have a passcode set, a biometric set, and the distribution across operating systems.
The directory
On the top navigation, there’s four other tabs. Let’s take a look at the next tab, the directory. This is the Beyond identity directory. Admins can sync users to this directory using SCIM, Okta event hooks, or by adding individual users in the top right corner.
Let’s take a look at an individual user. Admins can see the devices tied to each user, delete specific devices, deactivate or delete users, and invite users to self-enroll in Beyond Identity. They can also add user groups manually or sync through SCIM.
Events
Let’s take a look at the events tab. The events tab shows an audit trail of all transactions that have occurred on the platform. Admins can see which users have enrolled, authenticated, added a device, at what time, and on what platform. They can also export this event log to CSV to utilize in your SIEM and GRC tools.
Let’s take a look at the most recent authentication event. Admins can see:
- The user
- The day and time it occurred
- If it was a successful authentication
- The policy it matches
- The IP address
- The OS version
- The type of device they logged in from
- If there’s a password enabled
- If it’s Biometric enabled
- If it’s secure enclave enabled
- If it’s firewall enabled
- If it’s gatekeeper enabled
- And other info
And the reason why admins are able to get this level of detail for every authentication event is because the authenticator is on every device requesting access, including desktop computers.
Integrations
Let’s move on to the integrations tab. This is where admins can set up the integration with their single sign on. They can also install, enable, and disable API extensions such as Okta event hooks for provisioning or Okta Registration attributes.
Policies
Let’s check out policies, which is the highlight of the Beyond Identity Console. This is where admins set up risk policies. Admins can determine if a user and a device meets their security requirements and whether they should be allowed to access company resources, or they’re asked for a step up (or additional verification), or authentication is denied.
This is how admins set up risk policies. Rules execute in consecutive order, from top to bottom, and you can drag and reorder rules. Similar to the device data that we saw in the events log, there's a variety of granular risk signals that admins can use to build policies.
Some organizations require biometrics or PINs to be enabled—and some require devices to have certain software MDM or EDR downloaded and running on the device—before the user gets access to a resource.
There’s also the option to ask users for a step-up verification prior to accessing a high-risk resource. One example of this is to ask the user for an additional OS verification like a biometric.
Admins can also determine which types of devices are allowed to add the Beyond Identity Authenticator. These policies are completely customizable to meet your own risk model.
All the way on the top right of the navigation, there’s a profile icon which will lead a user to their account settings, where they can see their tenant ID and their profile information, as well as the button to sign out of the Beyond Identity Console.
[/html]
Trending Resources
.png)
Your First 5 Minutes with Ceros: See What You've Been Missing
February 24, 2026

The Attacker Gave Claude Their API Key: Why AI Agents Need Hardware-Bound Identity
February 2, 2026
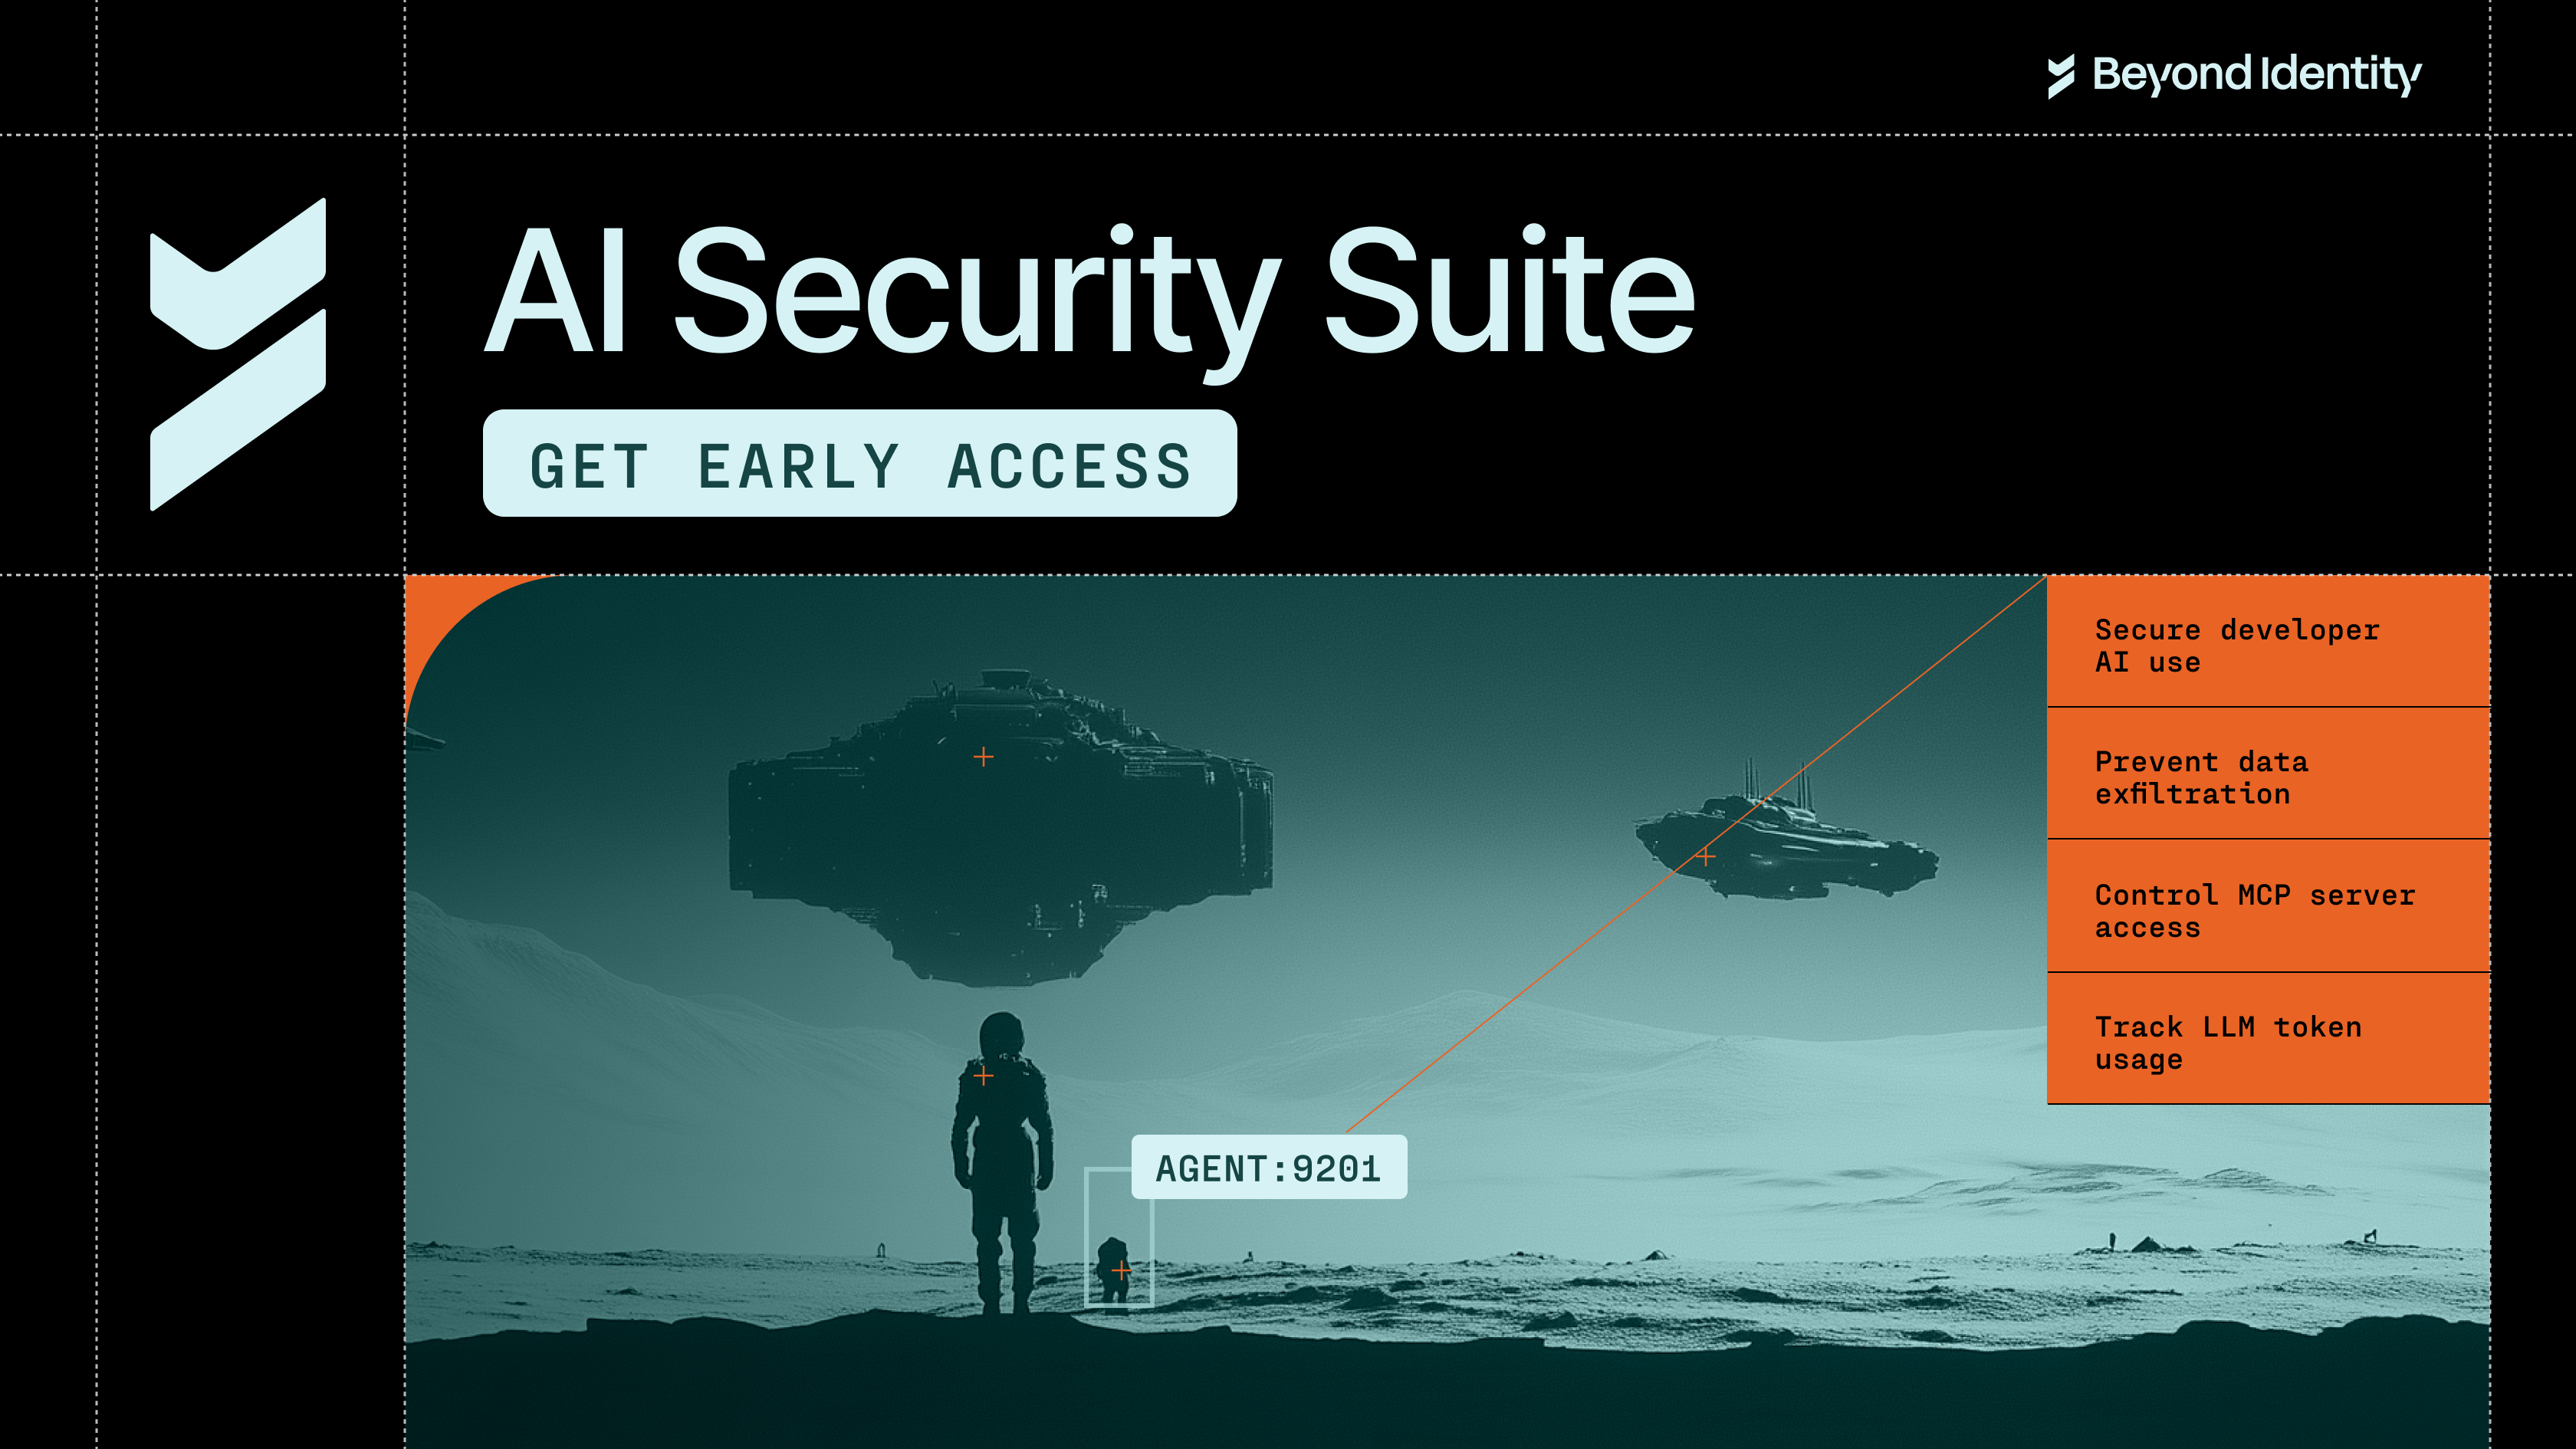
Beyond Identity Opens Early Access for the AI Security Suite
January 22, 2026
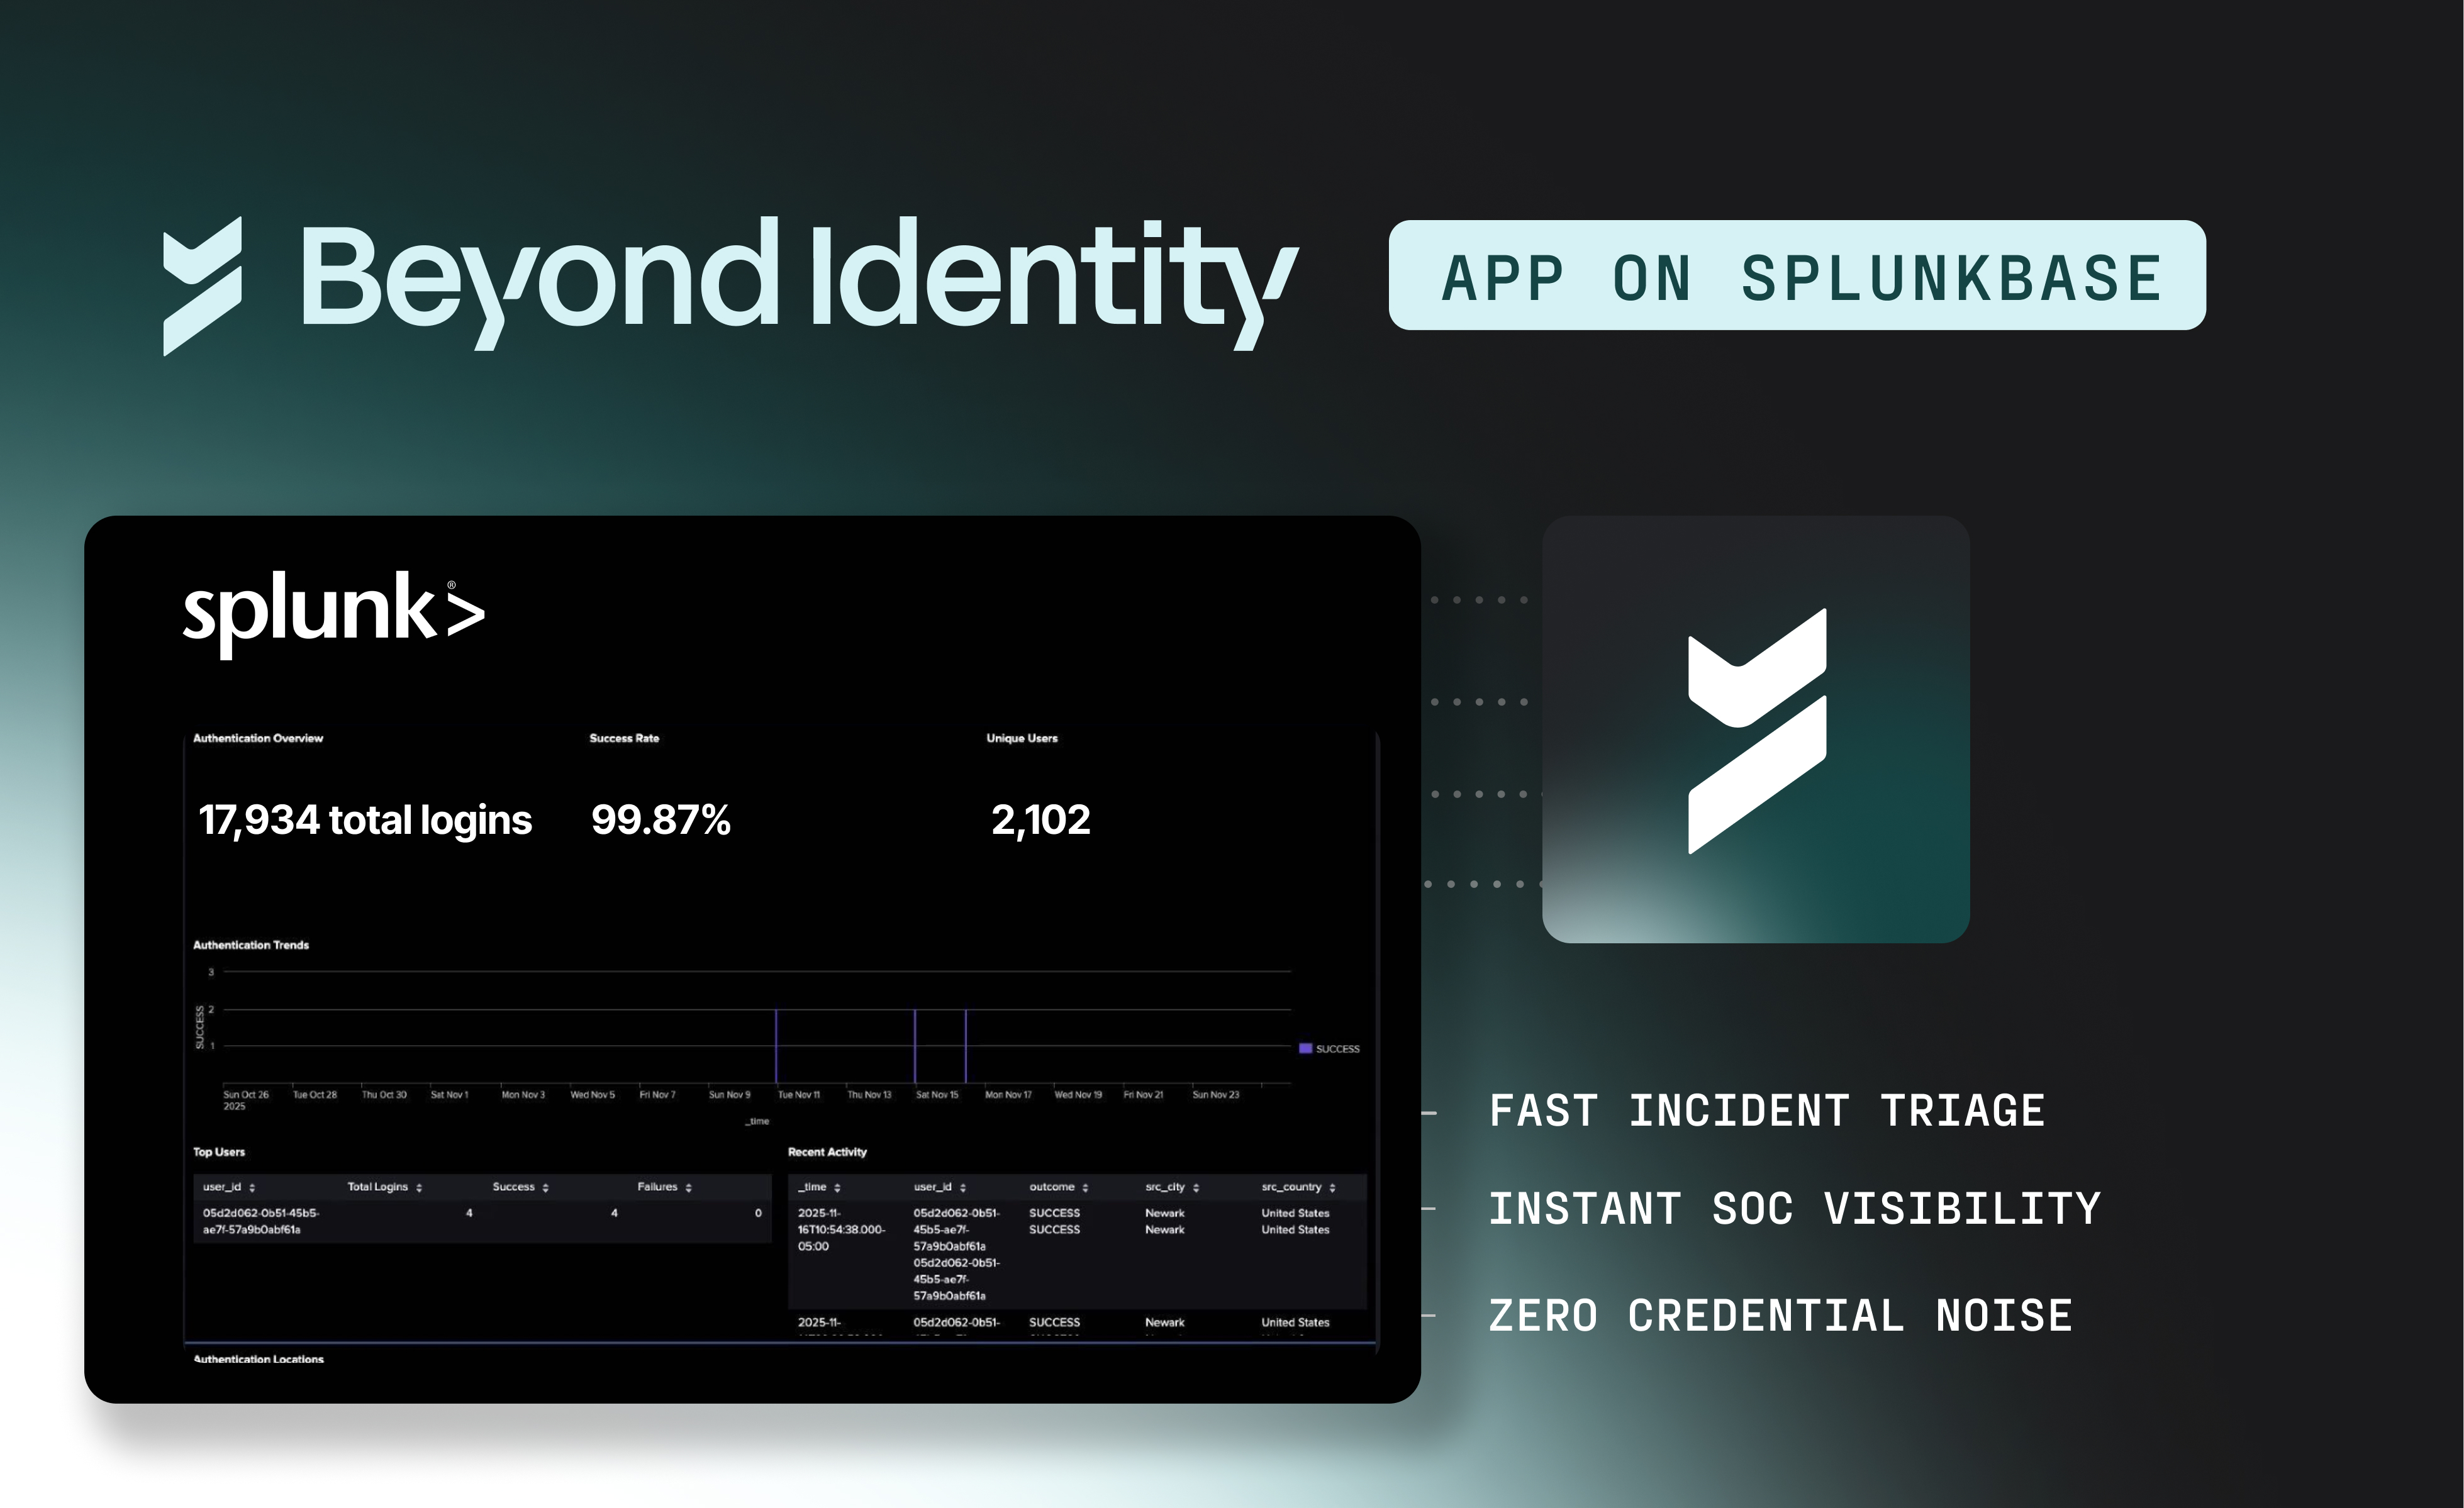
Unlock High-Fidelity Security with the New Beyond Identity App for Splunk
January 16, 2026
Beyond Identity Joins NVIDIA Inception Program to Advance Hardware-Enforced Security for the AI Era
January 5, 2026

Chips and SLSA: Why TPMs Matter for Code Commits
December 19, 2025

Why Is Code Provenance Non-Negotiable in the Age of AI?
December 17, 2025
.avif)
How Beyond Identity & Nametag Stop Identity Fraud at Onboarding & Recovery
November 19, 2025
Make Identity-Based Attacks Impossible
August 11, 2025
Meeting CJIS Compliance with WDL
May 27, 2025
PCI DSS Compliance with Beyond Identity
March 6, 2025
.avif)
Online Job Board Safety: How and Why To Avoid a Scam
March 7, 2024

ChatGPT's Dark Side: Cyber Experts Warn AI Will Aid Cyberattacks in 2023
February 29, 2024
Improving User Access and Identity Management to Address Modern Enterprise Risk
February 20, 2024

Okta Cyber Trust Report
January 5, 2024

Securing Remote Work: Insights into Cyber Threats and Solutions
October 30, 2023

Networking Dinner with MightyID and Tevora
December 9, 2025
Alphinia CISO Mastermind Dinner
December 1, 2025

Myriad360 Client Appreciation Celebration
November 20, 2025
GuidePoint Security Movie Premeire of Wicked
November 19, 2025
.avif)
How AI Is Accelerating Threats: The Inside Scoop on Emerging Phishing GPTs
November 18, 2025

GuidePoint Security 3rd Annual Houston Golf Outing
November 13, 2025
GuidePoint Security's Pinehurst Golf Outing
November 12, 2025
GuidePoint Security Public Sector Vendor Fair
November 5, 2025
